This blog is no longer active. All content from this blog has been moved to my new website: LoriDanelle.com. To view this post on the new site, click here.
*********************************************************************************************The last couple of weeks have been quite insane for me!
Good insane, but insane.
A huge jump on realizing dreams of working for myself,
But still busy, crazy, stressful, exciting, and very little sleep.
I'm just sorry it happened in the middle of such a fun time here on my blog!
I believe I owe you a few tutorials, yes?
Let's get started!!
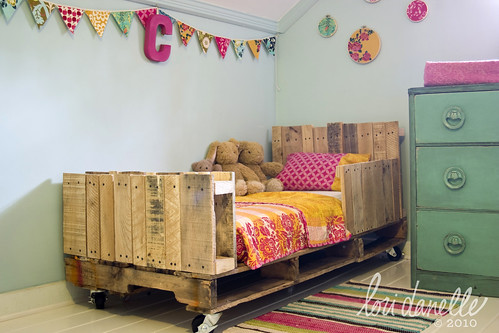
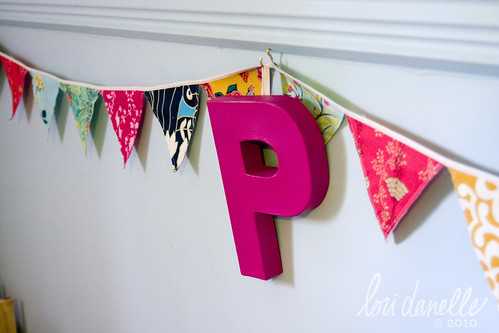
Today I'm going to go over how I made the bunting I used over the girls' beds.
If you've hung around here long, you know I don't like things too perfect, so I made mine with a raw edge. Plus, it makes is super easy to sew up! However, I'll give notes on what to do if you'd prefer a finished edge.

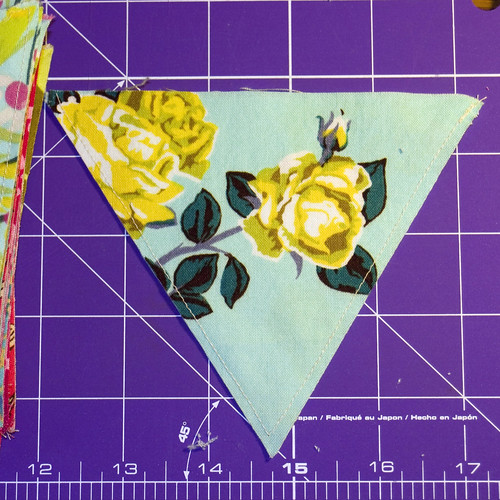
Cut your chosen fabric into 4.5 inch strips, then fold into 5.5 inch sections.
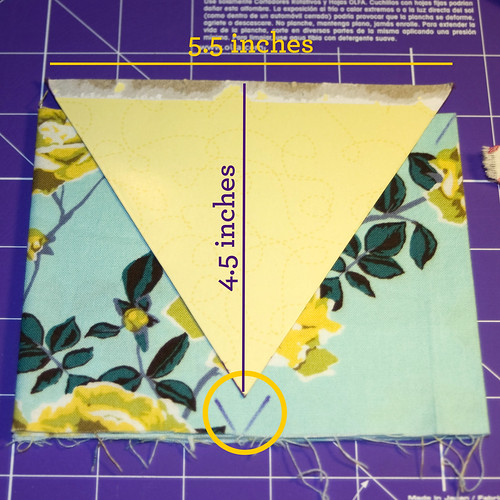
I made a pattern out of cardboard so that I could easily cut out my fabric. To make the pattern, I cut out a rectangle that was also 4.5" x 5.5". I marked 2.75" in on the bottom of one of the 5.5" sides and then drew lines from the top left & top right corners to the bottom center.
I then laid the cardboard pattern on my folded fabric, and marked where the middle point would be with my disappearing ink pen.
Using my rotary cutter (LOVE that thing!) and a straight edge, I lined the straight edge up to the top corners and the lines I marked for the bottom point and made my two cuts.
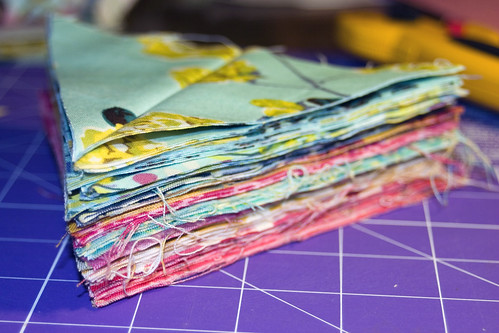
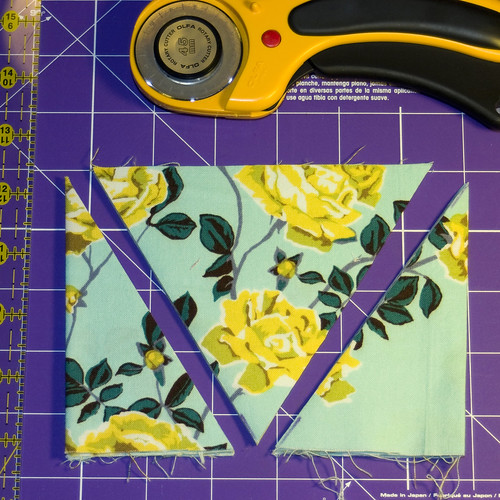
This will give you a stack of triangles in the middle, and if you unfold the left & right side, you'll have two more sets. There will be some smaller pieces folded up in there from the edges of your fabric. Follow these steps with as many different fabrics as you'd like until you have enough pairs of triangles to extend your desired distance.
If you want to go with unfinished edges like I did, place two triangles WRONG sides together, pin & sew 1/8th inch from the raw edge on the left & right sides. If you would like, I you can sew the top as well, but there really is no need.
(If you want finished edges, place two triangles RIGHT sides together, pin & sew 1/8th inch from the edge on the left & right sides—leave the top open. Use a pointy object, such as a pencil or scissors, to turn the triangles right-side-out and push the point out. )
To go the really easy route, use purchased biased tape in the width of your choice. The tape I used was 1/4" wide. If you prefer you can make your own. Sandi Henderson has a good tutorial on her blog on the right side for making it yourself if you want to give it a shot.
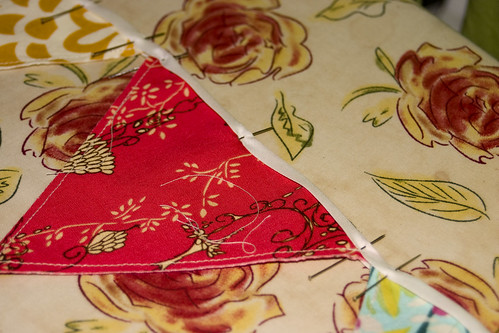
With your fingers, open up the biased tape and lay your triangles in the middle, lining the top edge of your triangle up with the center crease of the bias tape. Fold the tape back down and pin at the two edges and in the center of the triangle. Do this along the length of your bias tape until you get it as long as you'd like.
Moving to your sewing machine, sew as close as you can to the open edge of the bias tape, thus securing the triangles and sewing the tape closed.
Ta-Da!!!
Hang it up and you're done!!!
Too cute and much too easy! :)
Nice little way to add some color & a personalized touch to a room. . .or even a party!!!
Now go make stuff!!
xoxo Lori Danelle
I love them for parties! A bunting was one of the first projects I made!
ReplyDeleteSuch cute fabric, so bright and cheerful! I just did a DIY bunting post too on my blog. But mine is mini bunting. Now I must try making larger bunting for my room.
ReplyDeleteLove. Your tutorials are so clear and easy to follow. A Lori Danelle How To book in the making? I would buy it!
ReplyDelete