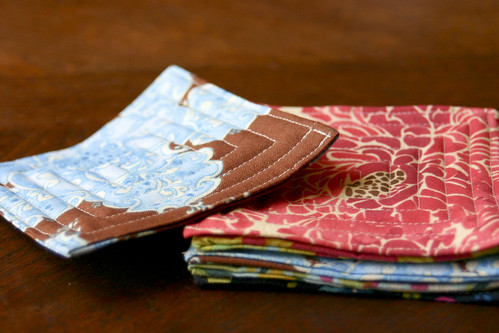
These are fun to make for yourself—or give as a fun hostess gift! I actually made 2 more sets after I made mine for my Mother-in-law & Sister-in-law for a fun little Mother's day gift. Here's a tutorial I put together so you can whip up a set or two. Enjoy!
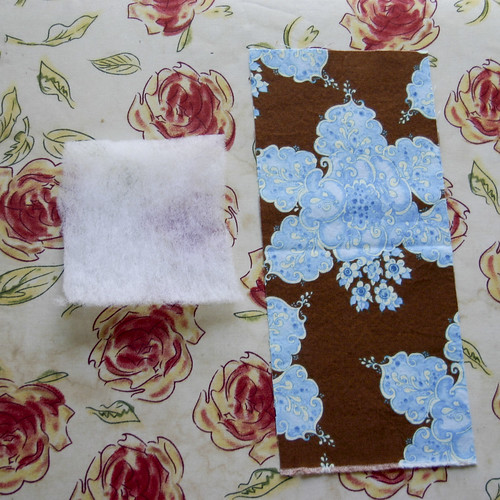
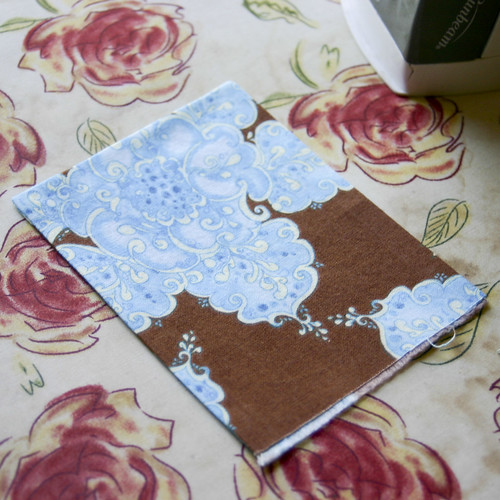
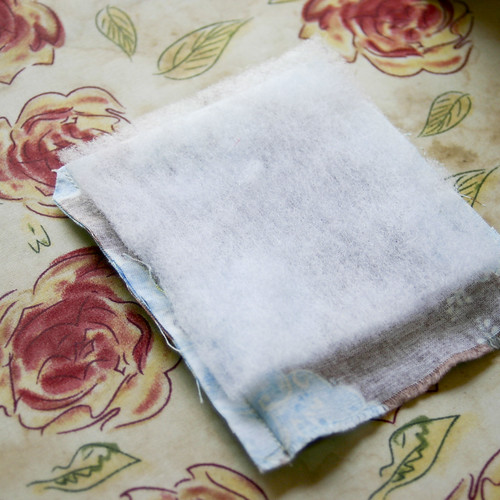
Start by cutting your fabric into 4 1/2 x 10 inch rectangles and batting into 4 x 4 inch squares.
Fold the fabric in half, right sides together using a 1/4 inch seam allowance.
Sew up 2 of the sides, leaving one side open and making a pocket.
Clip the corners on the folded edge.
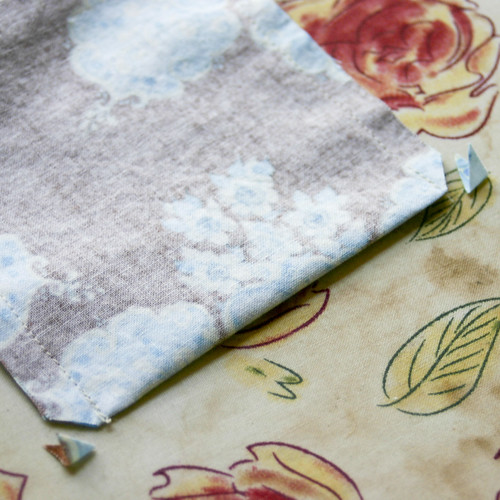
Turn and press the fabric right side out, using scissors or another tool to push the corners out.
Flip the fabric back to being wrong side out—you don't have to worry about getting the corners back out—and lay the square of batting on top, lining up the edge with the folded edge of the fabric.
Sorry, I don't have photos for this step as I can't do & take a photo at the same time! From here your going to turn the fabric right side out again, this time engulfing the batting as you do it. It's very similar to how you would put the duvet cover on a duvet—only on a MUCH smaller scale! I personally, stick both of my thumbs into the corners of the pocket. Then place my fingers on the outside corners and push it through. Try and get the batting all the way down into the pocket and as smooth as possible, but a small bit of bunching isn't going to ruin the coaster. :)
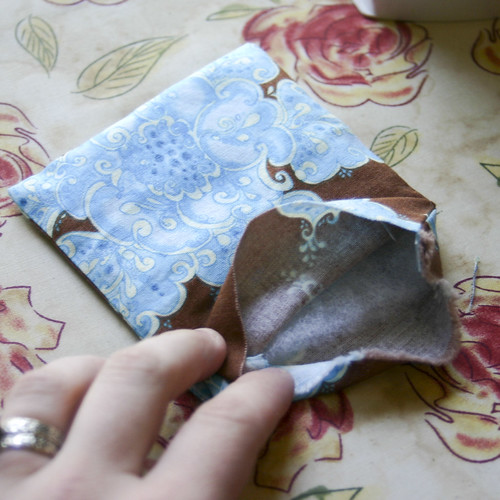
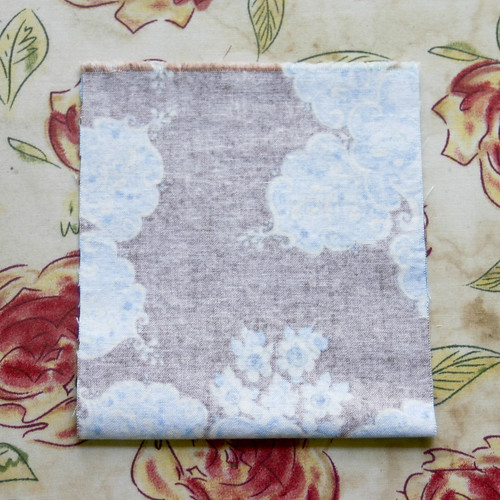
Once the batting is inside, fold the fabric down over it, inside the pocket with one side of the fabric folded over the batting. Pin in place.
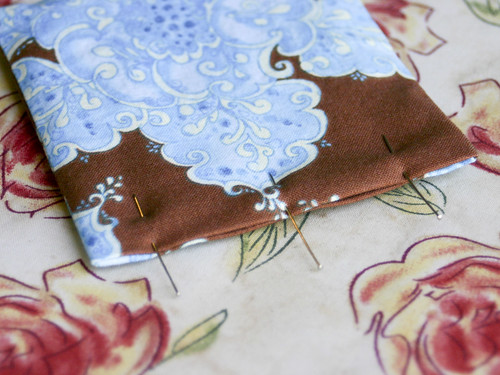
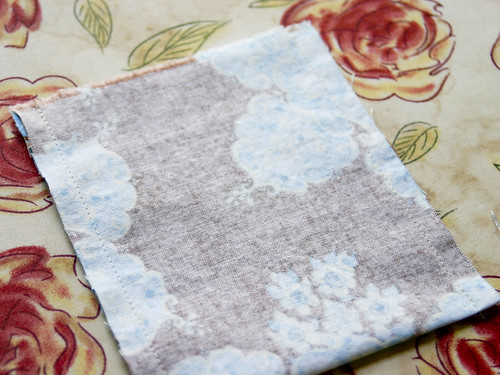
Starting 1/8 inch in, sew a seam all the around the square 1/8 inch away from the edge.
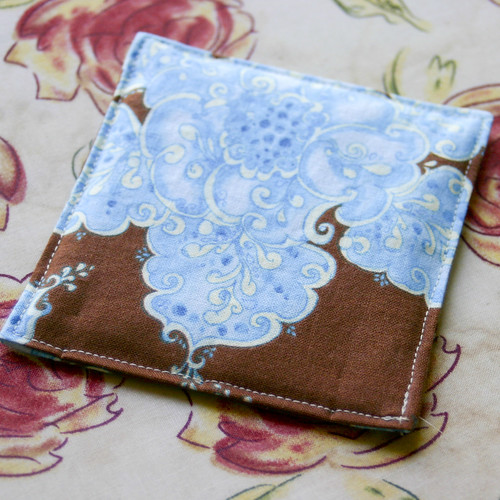
Then, line the edge of your presser foot up to the stitching you just made (approximately 1/4 inch). Set your machine to stop with the needle in the downward position or do this manually if you don't have this feature. Sew along each side, stopping approximately 1/4 inch away from the perpendicular seam. With your needle down, pivot and turn the corner, keeping your presser foot lined up to the previous seam and continue sewing and pivoting until you reach the center, using the previous seams as guides. Back-stitch to lock your stitch.
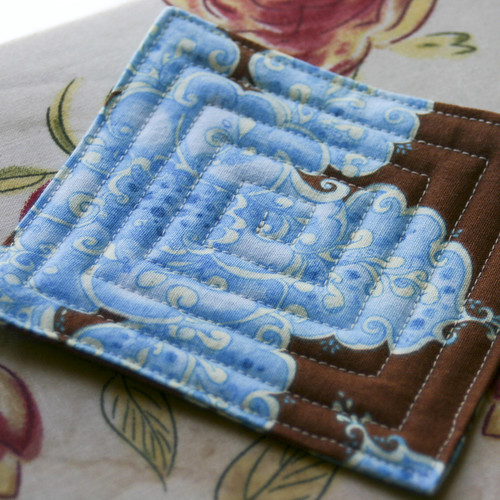
All done!

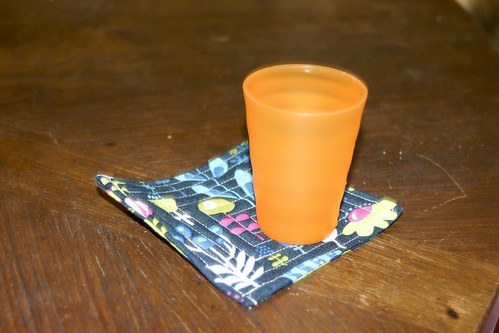
Make as many as you like in as many different fabric as you'd like or keep them all matching. Either way, lots of fun and a little way to add some color around the house.
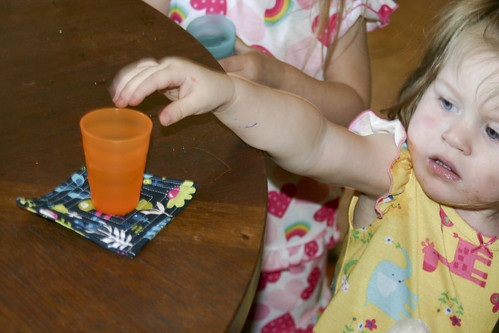
My girls put ours to use right away!! They thought they were the greatest.

If you make some, be sure to send me pictures!! I'd love to see them!
xoxo—Lori
I think I could do this! I'm adding it to my list of things I want to make someday. Thanks for sharing.
ReplyDelete